Because it was a special occasion and I was a little worried about making a cake from scratch that I'd never made before, I went with a box version. I figured if I jazzed it up enough we'd forget that I hadn't made that part from scratch. And to be honest, I think box cakes tend to be more moist, anyway. This is actually my favorite cake mix, but they didn't have it so I went with a standard butter yellow cake mix. But I topped it with yummy, rich cream cheese frosting.
--------------------------------
Cream Cheese Frosting
Ingredients:
2 (8 oz.) pkgs. cream cheese, softened
½ cup butter, softened
2 cups sifted confectioners’ sugar
1 tsp. vanilla extract
Directions: In a medium bowl, cream together the cream cheese and butter until well combined. Mix in the vanilla, then gradually stir in the confectioners’ sugar. Store in the refrigerator when not in use, even during decorating.
----------------------------------
Annie had some really great advice about using fresh strawberries in and on a cake. First of all, she said to pat them really dry after they were sliced to keep them from adding extra moisture into the cake and making it mushy.
There are a few things I've learned about how to make cakes that are the same size and how to make them flat and level so they look better when layered.
1. Don't eyeball when pouring mix into your pans. I use a measuring cup and put it in cup by cup, rotating between the pans.
2. These fantastic little strips help the cake rise more evenly and keep the edges from overcooking before the middle cooks. You soak them in water and wrap them around the edge of the pan.

3. A cake level is a must. I can not even them freehand, and this little device makes it super easy. You set it at the heigh you want to slice the cake at then drag it across. I used it to just cut the top off but you can also use it when you are diving cake layers in half for filling.

Here's what I did to make this cake:
Once my cakes were baked and cooled (I bake them the night before), I took one layer and leveled it out. And then I flipped it over to ensure I had a totally flat top to ice. I put a layer of frosting on it and covered it with strawberries.

Next I added a layer of frosting on top of the strawberries to help the other cake layer stick.

Then I put my other flattened and flipped layer on top. They were pretty darn flat, which usually isn't the case for me. I pushed them together so the cake wouldn't slide apart.

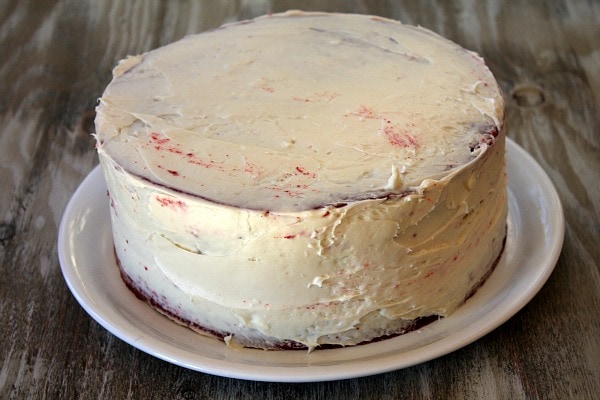
Then I did a crumb layer. I didn't snap a pic of this because I didn't think about it but it looked pretty similar to this one I found online. Basically a crumb layer is a thin layer of frosting that will hold the crumbs down. Once you have this thin layer on, let it totally dry. I put mine in the fridge to speed up the process. You don't need to have full coverage on it - just cover it enough that there aren't big gaps of cake without frosting. Once it's totally set, you can ice it and decorate it as you wish.


No comments:
Post a Comment